Block Print Kit printing guide
PREPARE YOUR PRINTING AREA
Cover your table with an old blanket, rug or felt to create a padded printing base which will help you achieve a good impression of the block on the cloth. Cover this with some old sheets or inexpensive calico as some of the paint from your tea towel might go through onto this.
Place your tea towel or fabric that you are going to be printing over the fabric bed you have made. You can pin it in place to secure it and avoid having any ripples.
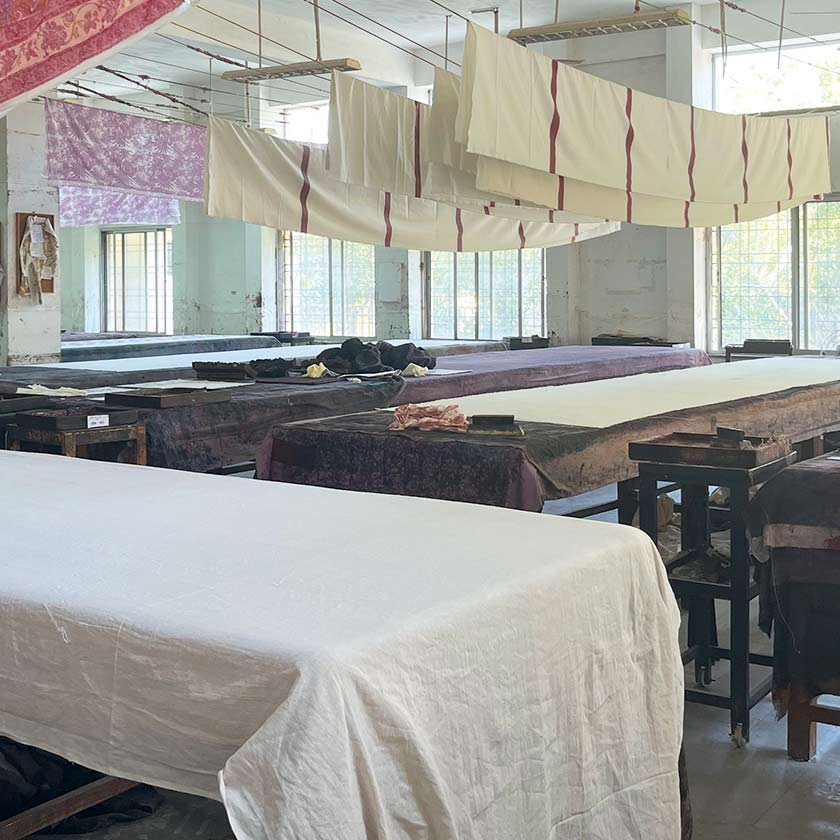
PRINTING TABLE AT OUR WORKSHOP
Did you know the printing tables our artisans use are covered with at least ten layers of jute fabric and a blanket top layer?

PATTERN TRANSFERS
The patterns created by the printing inks often go through light fabrics such as voile, and create wonderful accidental patterns underneath.
THINK ABOUT YOUR PATTERN
Think about the design you want to create. You can work on a repeat design where a simple motif is repeated from the top to the bottom, or you can work on a placement design, where there are areas of mixed pattern, and other areas are left empty.
Below you can see examples of typical repeat patterns.
"Remember to have fun and enjoy exploring the different designs you can create with your new blocks"
COLOURS
Our kits provide you with two different colours which we think look great together. If you want to add more colours, fabric paint is widely available online. There are many brands such as Speedball, Permaset, Hunt The Moon as well as Pebeo, which we use for our kits and for our block print workshops.
Sometimes it is possible to buy a set that comes with all primary colours plus white and back. These are a good investment as you can mix the colours to create any shade you like, and which is unique to you.
Gently shake the bottles before opening.
Remember all these paints will need to be ironed to fix the colours permanently.
Leave the fabric to dry for a day or so to ensure any moisture is removed before ironing.
For the Pebeo paints, the recommended ironing time is minutes on a hot setting, (no steam) for a permanent fix.
It is best to cover the printed area with a scrap of fabric or iron on the reverse ( if your ironing cover is not precious !) to ensure that the iron does not lift any paint which could come off due to direct contact with the iron plate. Keep moving the iron around so you don't burn the fabric.
You print is now ready and colours resistant to washing at 40°C
LET'S GET PRINTING!
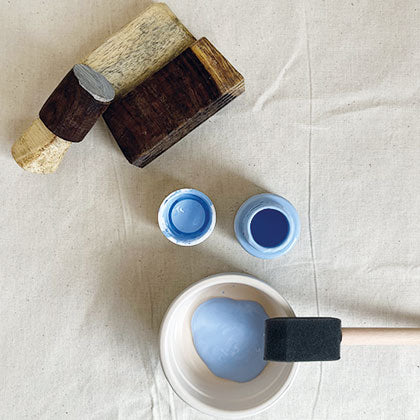
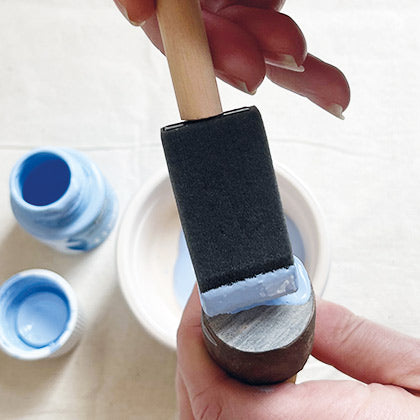
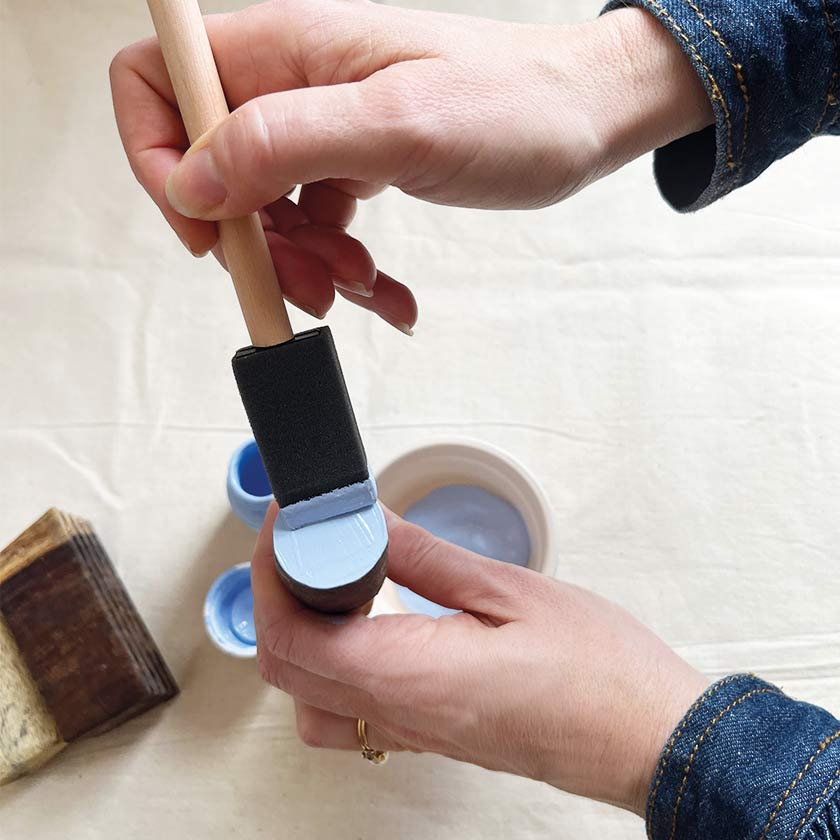
Shake the paint bottle and pour a small amount onto your container or tray (you can use any small bowl, Tupperware or even an old takeaway container). Load your stippler with paint. Dab or brush the colour onto your block ensuring even coverage.
Getting the right amount of paint onto the block and achieving an even result can take a bit of practice. You can have a go at printing onto some fabric scraps until you find the technique that works best for you.
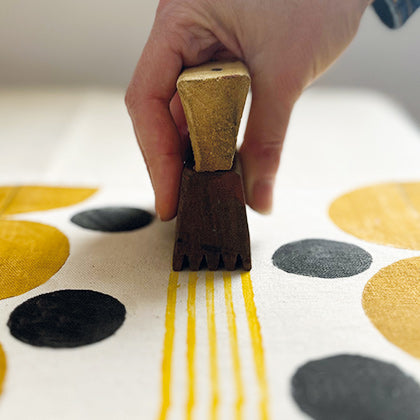
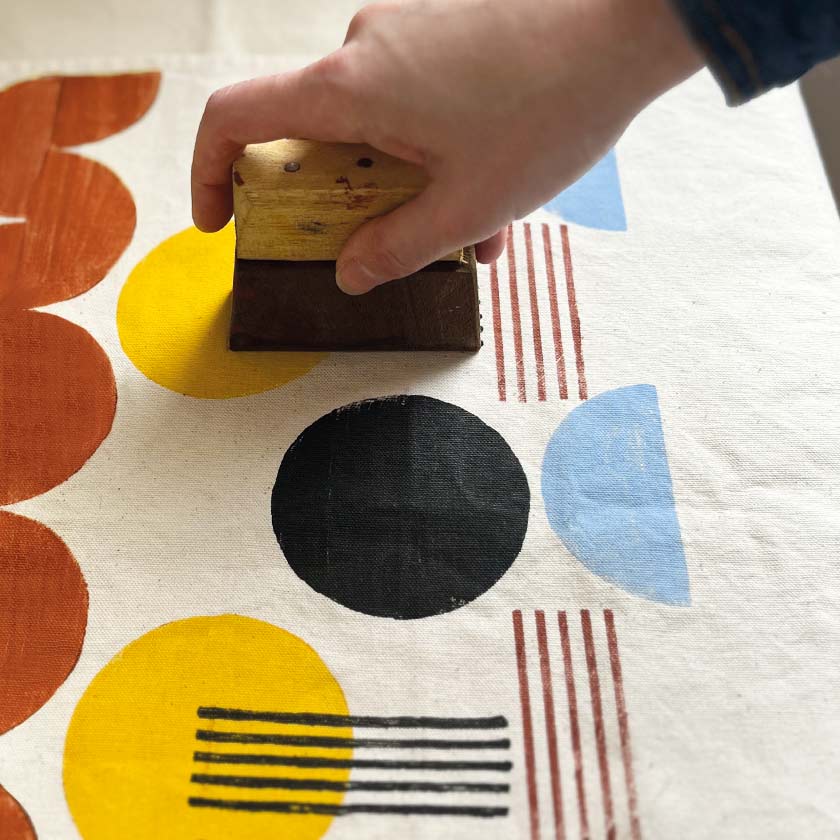
Traditionally printing starts at the bottom left hand corner of the fabric you are printing onto, but you can start from the top if you prefer. Position the block over the fabric and gently press down the block. Push down firmly, making sure not to slide the block. Lift up the block without hesitating! Work across the printing area to the right, continuing to load up your block with paint each time before you print.
Be careful not to spill any paint onto the tea towel. It is best to have your paint pots, brushes and stipplers on the side off the area where you are working, and apply the paint onto the blocks outside off the actual tea towel area, to avoid any accidents.
CHANGING COLOURS USING THE SAME BLOCK
If you want to change colours but keep using the same block, you can simply wash the block in water. Dry it with some kitchen paper or rag and reuse. Ensure there is no water left on the block so the paint does not get diluted when applied.
PATCHINESS
If you find that a particular impression is too patchy, you can very carefully try to print over the same area again. This is not too difficult with the big half circle block, but it might be a bit trickier with the multi stripe block in your kit, if you are new to block printing.
Remember imperfections are part of the beauty of this art.
ALIGNMENT
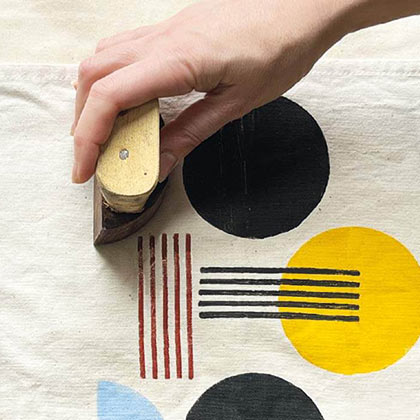
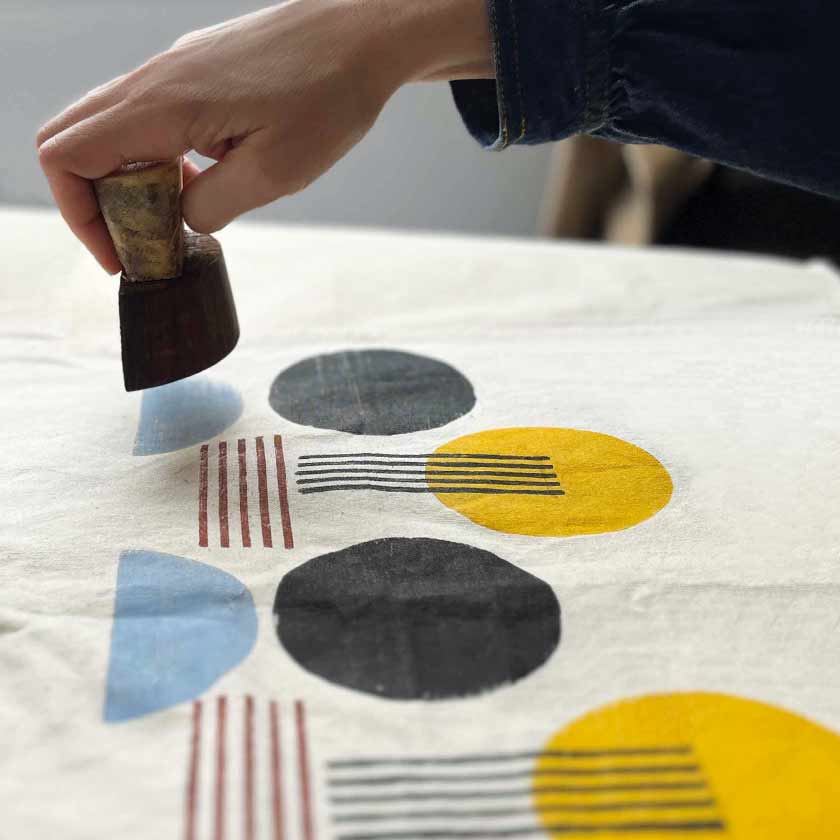
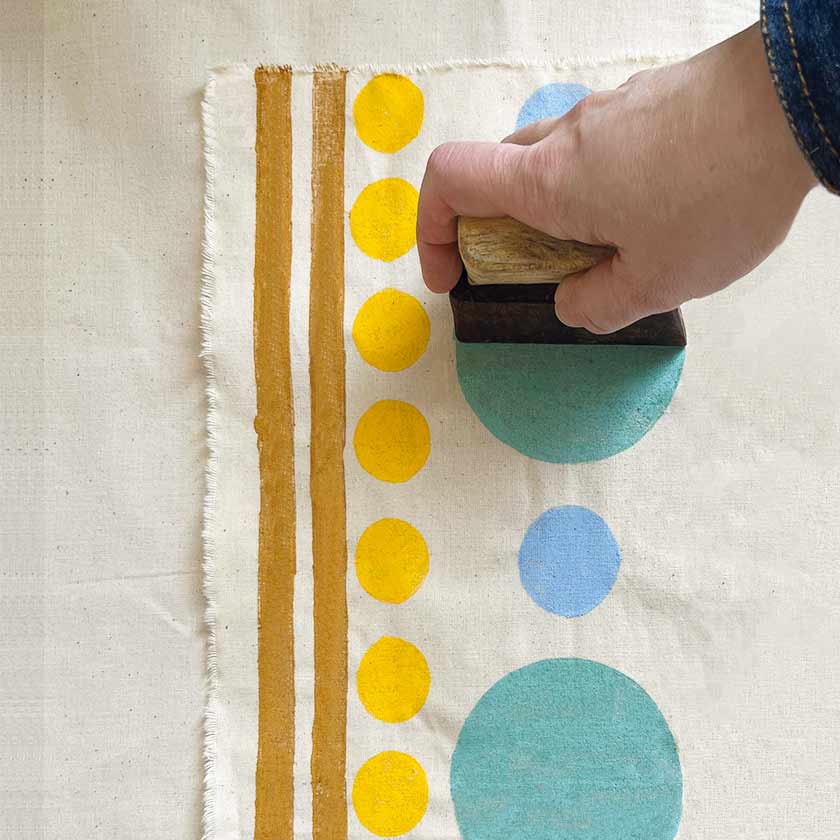
If you want to align the blocks, for example to create a big circle with the half circle block, or a continued stripe with the stripe block, take care to align the next block impression as well as you can with the previous one. Blocks such as stripes can be tricky to align exactly, and even experienced printers might not get a perfect line each time.
STRIPE OVER CIRCLE
If you want to print one motif over another, for example the stripe block over the circle, wait until the first colour is dry to avoid any bleeding.
Your blocks are made of sheesham or Indian rosewood, a durable and sustainable wood native to India. They have been oiled to protect them from soaking too much water.
MORE TIPS
BLOCKING SECTIONS
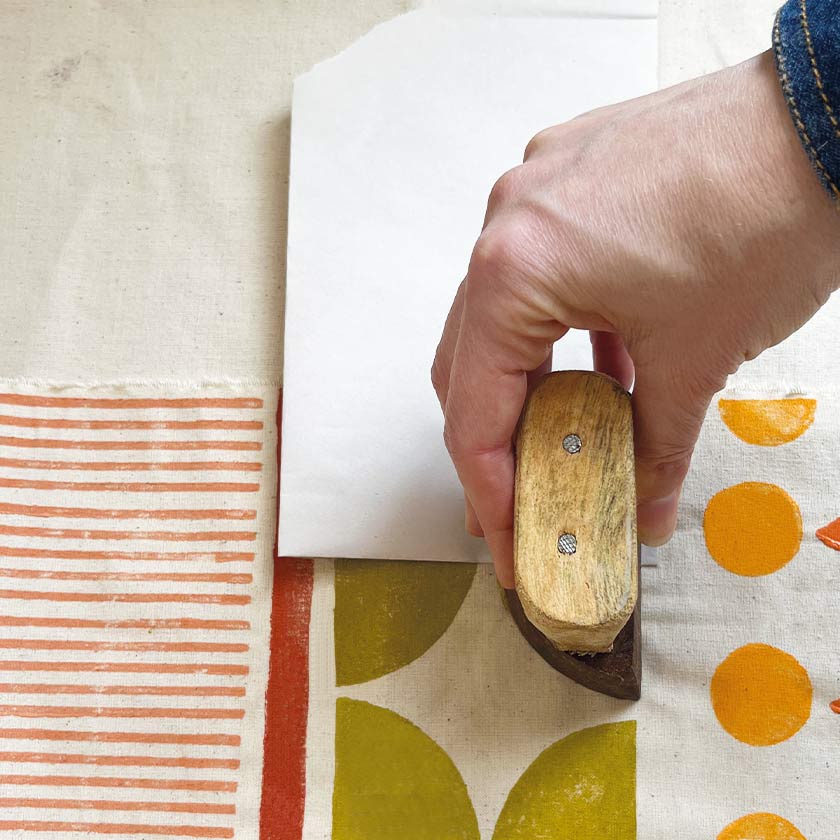
If you only want to print a section of the block, use scrap paper to block out the area of fabric you want to leave empty. You might want to do this if for example you dont want to print all the way to the edge of your tea towel and the next block you are going to use would be too wide otherwise.
OMBRÉ EFFECTS
To print using this effect which means going from a dark tone to a lighter tone or vice versa, print your desired colour, then mix the same colour with a bit of white and gradually add more white with each successive printing.
CENTRE DESIGN
If you want to have a certain motif, say a big circle, right in the middle of the fabric and then work your pattern outward from there, you can fold the fabric in four to work out where the centre point is.
KEEP PRINTING!
If you want to make your own blocks you can buy Lino kits that come with caving tools or even try some old fashioned potato printing.
You can use your blocks to print onto paper and make beautiful cards, wall art and wrapping paper.
Use paper that is not too smooth (the block might slip) or too textured (as the print will not be very even). Lining paper works well. You can get block printing ink for paper printing (all the brands mentioned earlier will have this) but chalk emulsion works too and often comes in beautiful colours. Do test the paint consistency so it is not too runny or too thick (dilute with water if so). Poster paint will be too watery and is not recommended.
DYE YOUR FABRIC OR PAPER
You might want to try printing onto other coloured fabrics. You can explore natural dyes such as turmeric, beetroot juice, pomegranate etc
Remember these dyes work best on natural fabrics such as cotton and linen, and the base colour will affect how the colours you are printing on top look.
You can find some tips about natural dyeing here.
THANK YOU FOR SHARING!
Show us your work on instagram @ai.no.ah and we will repost it in our stories. We can't wait to see what you come up with !